Harder Than It Needs To Be

Usually we don’t have to fight with Ava to eat her dinner. However, this evening what should have been a 10 minute dinner, became closer to a 45 minute dinner. At some point during the meal, Ava and I had the following conversation…

Ava: But Mommy, I just want candy.
Me: Sorry, but you have to eat your food. That’s just the way it is.
Ava: But Mommy, it’s so hard to eat my food!
Me: It’s not hard. You are making it harder than it needs to be.

I wonder how many times we tell God, “But God, it’s so hard to do what you’ve commanded me to do.” And I wonder if God would like to say, “It’s not hard. You are making it harder than it needs to be.” We so often have our eyes on “the candy” when God is telling us that we need to eat “the good food.” God knows what is best for us, He knows what our opinions are, and ultimately, He is still the One to be obeyed. So maybe we need to just pull it together, and do what He is telling us to do. We will not only feel much better after we have obeyed, but we will please Him in the process.

Colossians 3:23,24
Whatever you do, work at it with all your heart, as working for the Lord, not for men, since you know that you will receive an inheritance from the Lord as a reward. It is the Lord Christ you are serving.

James 1:22-25
Do not merely listen to the word, and so deceive yourselves. Do what it says. Anyone who listens to the word but does not do what it says is like a man who looks at his face in a mirror and, after looking at himself, goes away and immediately forgets what he looks like. But the man who looks intently into the perfect law that gives freedom, and continues to do this, not forgetting what he has heard, but doing it – he will be blessed in what he does.

Ready-Made Play Mailbox

Our cute little tin mailbox was suddenly squashed by one of my children. Enter our empty Purex 3-in-1 laundry detergent sheets plastic box, which I had been holding onto because I knew it had to be good for something else… It works wonderfully well as a play mailbox! It is large enough to hold Ava’s play mail (see our post on making your own Play Mail Set), the clear door makes it easy for her to see “new mail” when it arrives, and it stands steadily on its own.

We are using our plastic box as-is, but if you want to take it to another level, you could try adding a name to the box or painting it. You could also have one for each member of the family and mount them all to an inconspicuous wall in your house for personal family mail meant to encourage one another (the boxes fit neatly together when placed side by side).

Frozen Treat

Yogurt on Graham Crackers

Sandwich two spoonfuls of yogurt (flavor of your choice) on one graham cracker broken in half. Wrap it in plastic wrap, and freeze it. When your little cutie wakes up from his nap, he’ll be ready to enjoy this frozen treat. One cup of yogurt will easily go far enough to make five of these snacks/desserts. Surprisingly, the crumbs are very minimal with this snack – just one more reason to love it.

Little Dessert Surprise

Anytime of year is a great time to bring out one of those plastic Easter eggs. Sometimes I put Ava’s dessert inside for her to enjoy after her meal. She isn’t allowed to see the dessert inside until all her food is eaten. Because she thinks it’s so fun, she doesn’t mind that her sweets portion is rather small. If you are unable to find an egg, you may have another fun container to use. By the way, yes, her applesauce is in that repurposed green laundry detergent lid. It works great!

An Imprint On Our Homes

Here are some encouraging and refreshing words from Queen of the Castle by Lynn Bowen Walker:


As I sat on the gym floor waiting for my son’s wrestling practice to finish, I read a magazine article about women who own their own businesses. Each had a specialty. A niche. Something that made her company different from all the others.

I got to thinking about that in the light of homemaking. Isn’t that true of us too? Aren’t we all keepers of the home differently, depending on our interests, our energy level, the ages and number of our children, our family’s priorities?….

Our spiritual gifts, too, help determine our niche as homemakers. If God has gifted us with hospitality, our homes might draw friends for warm chocolate chip cookies…and a listening ear. If God has gifted us in serving, our homes might be bustling hubs of meal preparation for the sick…or places where baby clothes are laundered and readied to be brought to crisis pregnancy centers. If God has given us gifts of knowledge and wisdom, our homes might be quiet places where we study God’s Word and perhaps lead others in Bible studies.

Our job descriptions and our homes will look different than those of every other homemaker. The problem comes when we begin to compare, to think that because someone else’s home is straight out of a magazine, complete with hand-spun dog-hair blankets, prize-winning begonias, and her own flock of grain-fed geese, our homes should mimic that. We are each unique, “immaculately unique,” as one author puts it. God has given us “varieties of gifts, but the same Spirit. And there are varieties of ministries, and the same Lord” (1 Corinthians 12:4,5). We have different gifts and different ministries. Why do we think our homes should look the same?

So give it some thought. Ask God. What is your niche as a homemaker? How should your home be unique as a result? Dwell on the wonder that, just as each person’s thumbprint carries swirlies and whirlies unique to its owner, so our homes carry one-of-a-kind impressions simply because our touch leaves an imprint that no one else can duplicate.

Magazine Artwork

Before you toss out your next magazine, consider cutting out different colors and textures to create your own magazine picture collage. This tree picture that we made for Landon’s room is made entirely of cereal boxes and cut up magazine pictures mounted in an old frame I wasn’t using. You can make your own picture as detailed or as abstract as you wish, based on the size, shapes, and textures you choose to cut out. Keep similiar colors organized in their own envelopes or ziploc bags to make putting your picture together a little easier. This is a collage, not a mosaic, so think in layers as you and your child go glue-crazy.

Gift Bags Made From Envelopes

This idea is just too easy, versatile, handy, cheap, convenient, and cute to not pass along to you! One day I stumbled upon How About Orange‘s original tutorial for turning any sized envelope into a small gift bag, and I’m so glad I found it! We have found countless ways to use these incredible bags around our house and for gifts!!! In the photo above, are two bags we made. These were plain envelopes until I took decorative scissors and a black pen to one, and Ava got busy stamping hers with a cut sponge and tempera paint. So, if you are needing a cute little bag for any occasion, you’re going to love making one or two or more for yourself!…

Read More

College Football Cake

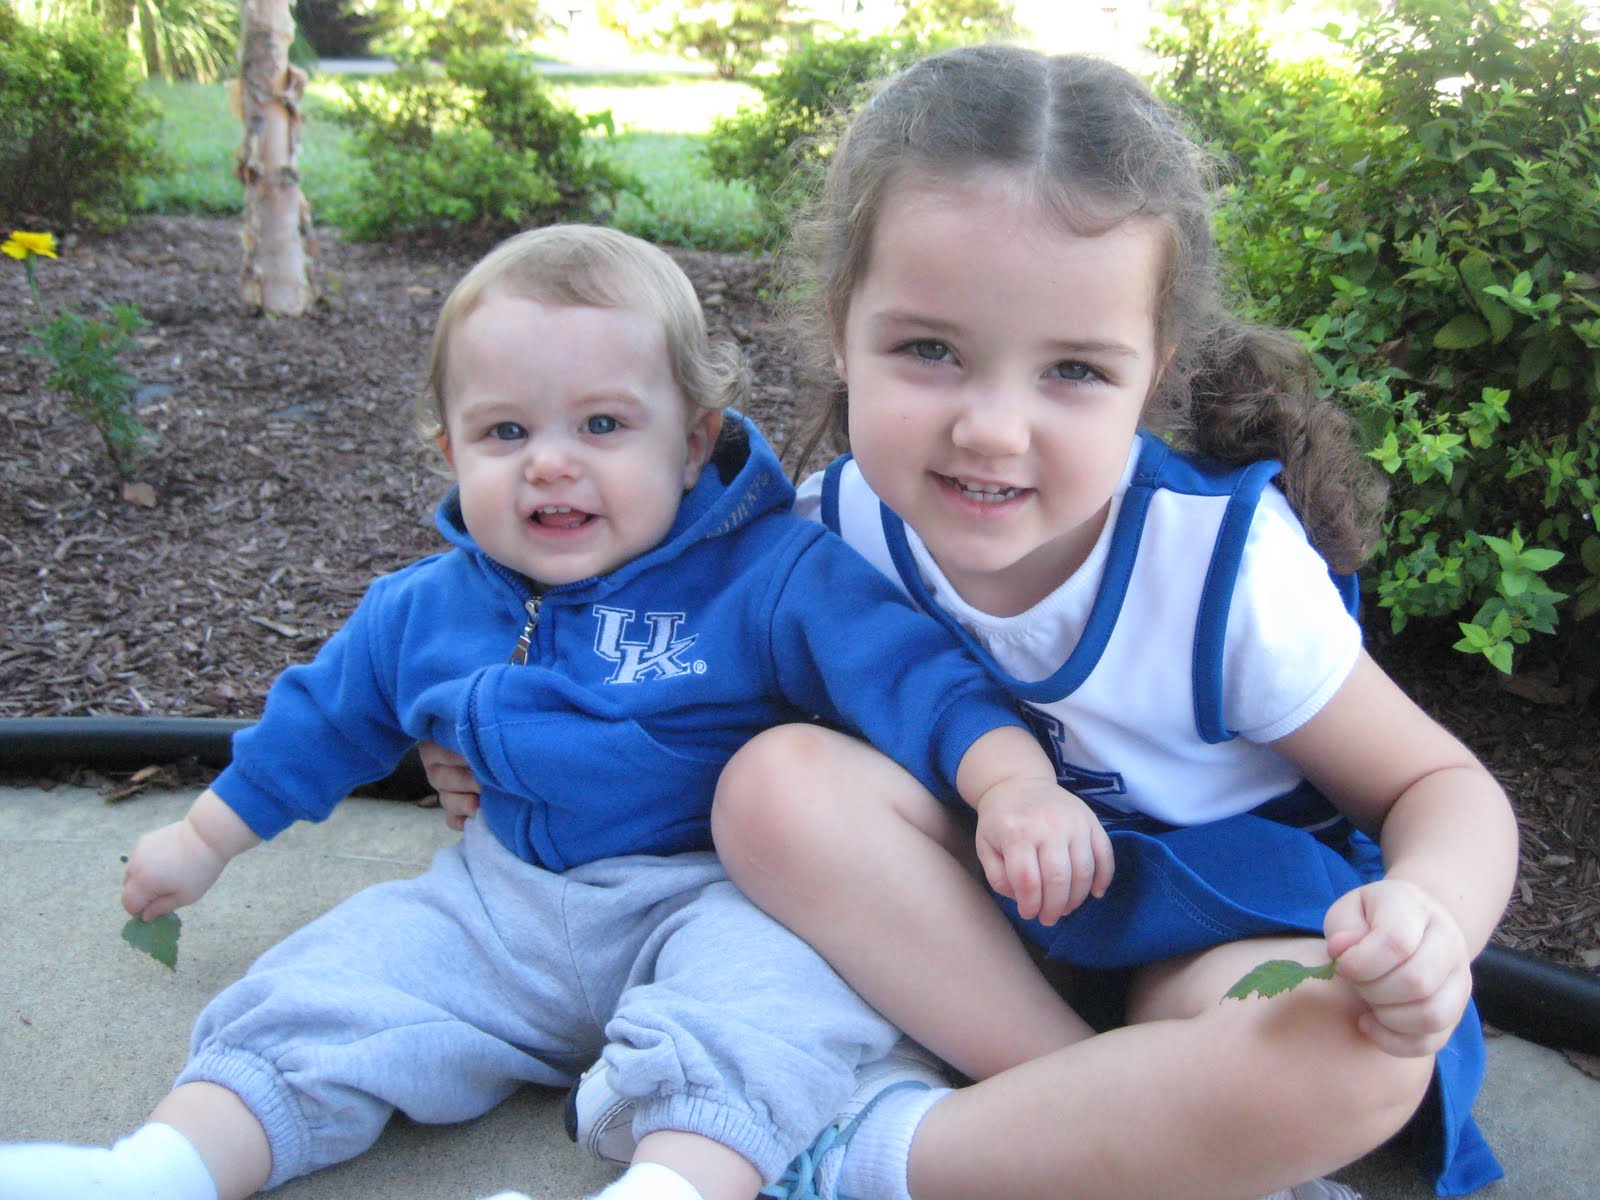
One of Tim’s favorite times of the year is when college football begins. He is a die-hard University of Kentucky fan (as is the rest of our family). Today, we all dressed in our UK best and we made a small football cake and cupcakes to celebrate Kentucky’s future wins!

I am not a great cake decorator, but I enjoy creating some sort of theme from nothing. My mom almost always decorated, instead of bought, our birthday and other holiday cakes. She always did a great job, and my memories of what she created, make me want to do the same for and with my children.

Here are some ideas for you (assuming you, like me, are not a pro). If you have any tips or tricks that you have picked up along the way, please leave a comment – I’d love to improve!

  • To make the football cake, I poured an appropriate amount of batter into a loaf pan, then after it had baked and cooled, I carved the corners down to make the football shape.
  • Before icing the cupcakes, I like to dig a small hole in the center and then pipe icing into the center of the cupcake (think “Hostess cupcake” here). Then I spread the icing on top and decorate.
  • If you have extra decorative/scrapbook paper, it makes a pretty base for the cake or cupcakes to sit on, and it can enhance the theme you are going for. For example, try grass-printed paper under a football cake, or water-printed paper under island-decorated cupcakes.
  • I haven’t tried making these cupcake holders yet, but they are very cute. In case you would like to try, the template from snowandgraham.com is here.

Tent Door

What child doesn’t love making a tent? Ava makes them out of anything that occurs to her might work. Usually, we use her little table or our card table. She likes to be completely enclosed, but managing a door is difficult for her, particularly with Little Brother always wanting an invite. So, I combined an idea of mine with a couple techniques (here and here) which I saw on Frugal Family Fun Blog, and tada! We made a curtain/door for Ava’s tent out of contact paper and bits of colored paper.

Instructions
1) Cut two pieces of contact paper the same, desired length for tent door. Remove backing from one of the pieces of contact paper, and lay it sticky-side-up on the floor or table.
2) Cut pieces of colored paper (Use any kind of paper – magazines, construction paper, typing paper, newspaper, etc.) and then sprinkle them all over the contact paper. 3) Remove backing of second piece of contact paper and carefully lay it on top (sticky-side-down). At this point, we chose to admire our work for a day, so we hung it up on the storm door with another strip of contact paper. 4) When you are ready to convert the pretty artwork into a tent door, simply cut it into strips from the bottom, stopping at least a couple of inches from the top. Attach it to the top of the table with another strip of contact paper. This worked well for us. After a whole day of both kids going in and out, in and out, it’s still standing!

Leaf Rubbing

Our eagerness for fall colors and cooler temperatures is continuing. Ava keeps asking if the leaves are going to change colors today. So, today we changed the colors of the leaves ourselves (at least on paper).

Silly Creature

I remember making these “name monsters” when I was in elementary school, and this week we made our own at my house. (I call them “silly creatures”, because Ava doesn’t have any concept of “monsters” and I’m good with that.) If you want to make one, but are completely unfamiliar with these, I have pictures of the steps here. We made these in cursive writing when I was in school, but I wanted Ava to be able to recognize the letters.

Steps:

We decorated with items we had on hand – googly-eyes, pipe cleaner, magazine pictures, stickers, buttons, and pom-poms.
If you want, you can make a second silly creature simply by gluing the left over negative space paper down onto another piece of construction paper.

Autumn Paper Sack

Autumn will be here soon (Yay!), and since we were in the mood for cooler weather on this scorching August day, Ava, Tim, and I painted Autumn with homemade stamps in the shapes of leaves. I made the leaf stamps using the tried-and-true method of cutting one out of a sponge, and carving the other out of half a potato. We painted on plain paper sacks (instead of art paper), so we can use them later for lunch sacks, putting an LED light inside for evening decoration, or to hold candy or cookies and give someone special. I must say, Tim rather impressed me… his work is the middle paper sack.
Our Supplies:
Paper bags
Tempera paint
Paper towels (for cleanup and for blotting)
Empty egg cartons (to hold paint)
Sponge & scissors (to make leaf stamp)
Potato & knife (to make leaf stamp)